
- android如何默认打开小区广播具体实现
- Android LayerDrawable使用实例
- Android获取经纬度计算距离介绍
- Android控件之ListView用法实例详解
- 图文讲解Android的ImageView类中的ScaleType属性设置
- Android开发笔记之: 数据存储方式详解
- Android指纹识别API初试
- Android创建服务之started service详细介绍
- Android自定义View实现左右滑动选择出生年份
- Android开发的IDE、ADT、SDK、JDK、NDK等名词解释
- Android仿网易客户端顶部导航栏效果
- Android结束进程的方法详解
- [Android开发从零开始].13.Table.Layout学习
- Android应用中拍照后获取照片路径并上传的实例分享
- Android 屏蔽和捕获Home键的示例代码
- Android6.0仿微信权限设置
- 深入剖析Android系统中Service和IntentService的区别
- Android中的Looper对象详细介绍
- Android下拉刷新ListView――RTPullListView(demo)
- Android实战打飞机游戏之实现主角以及主角相关元素(3)
- android动态加载布局文件示例
- 很赞的引导界面效果Android控件ImageSwitcher实现
- android Watchdog 实现剖析
- android开发教程之使用线程实现视图平滑滚动示例
- android实现缓存图片等数据
- Android Mms之:PDU的使用详解
- Android获取应用程序名称(ApplicationName)示例
- android Imageview 图片覆盖具体实现
- 360浏览器文本框获得焦点后被android软键盘遮罩该怎么办
- Android定制自己的EditText轻松改变底线颜色
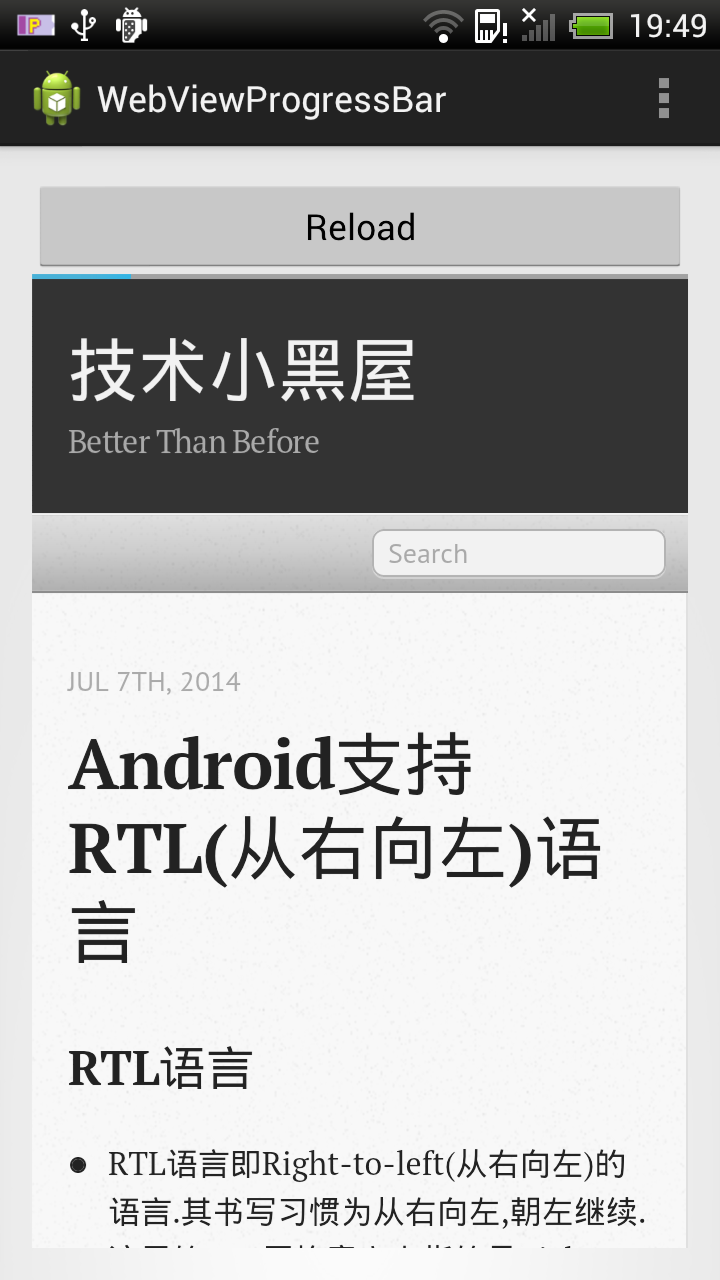
Android中实现Webview顶部带进度条的方法
写这篇文章,做份备忘,简单滴展示一个带进度条的Webview示例,进度条位于Webview上面.
示例图如下:
主Activity代码:
复制代码 代码如下:
package com.droidyue.demo.webviewprogressbar;
import android.app.Activity;
import android.os.Bundle;
import android.view.Menu;
import android.view.View;
import android.view.View.OnClickListener;
import android.webkit.WebChromeClient;
import android.webkit.WebView;
import android.widget.ProgressBar;
import com.droidyue.demo.webviewprogressbar.R;
public class MainActivity extends Activity {
@Override
protected void onCreate(Bundle savedInstanceState) {
super.onCreate(savedInstanceState);
setContentView(R.layout.activity_main);
final ProgressBar bar = (ProgressBar)findViewById(R.id.myProgressBar);
final WebView webView = (WebView)findViewById(R.id.myWebView);
webView.setWebChromeClient(new WebChromeClient() {
@Override
public void onProgressChanged(WebView view, int newProgress) {
if (newProgress == 100) {
bar.setVisibility(View.INVISIBLE);
} else {
if (View.INVISIBLE == bar.getVisibility()) {
bar.setVisibility(View.VISIBLE);
}
bar.setProgress(newProgress);
}
super.onProgressChanged(view, newProgress);
}
});
findViewById(R.id.myButton).setOnClickListener(new OnClickListener() {
@Override
public void onClick(View arg0) {
webView.reload();
}
});
final String url = "http://jb51.net";
webView.loadUrl(url);
}
@Override
public boolean onCreateOptionsMenu(Menu menu) {
getMenuInflater().inflate(R.menu.main, menu);
return true;
}
}
布局文件代码
复制代码 代码如下:
<RelativeLayout xmlns:android="http://schemas.android.com/apk/res/android"
xmlns:tools="http://schemas.android.com/tools"
android:layout_width="match_parent"
android:layout_height="match_parent"
android:paddingBottom="@dimen/activity_vertical_margin"
android:paddingLeft="@dimen/activity_horizontal_margin"
android:paddingRight="@dimen/activity_horizontal_margin"
android:paddingTop="@dimen/activity_vertical_margin"
tools:context=".MainActivity" >
<Button
android:id="@+id/myButton"
android:layout_width="match_parent"
android:layout_height="wrap_content"
android:text="Reload"
/>
<ProgressBar
style="?android:attr/progressBarStyleHorizontal"
android:id="@+id/myProgressBar"
android:layout_below="@id/myButton"
android:layout_width="match_parent"
android:layout_height="5px"
/>
<WebView
android:id="@+id/myWebView"
android:layout_below="@id/myProgressBar"
android:layout_width="match_parent"
android:layout_height="match_parent"
/>
</RelativeLayout>
不要忘记在Mainfest加入使用网络权限哟.
复制代码 代码如下:
<uses-permission android:name="android.permission.INTERNET"/>
实现很简单,没什么技术含量.备忘而已.
关于如何自定义进度条请参考:http://www.jb51.net/article/59978.htm
- 上一篇文章: Android中检查、设置默认程序详解
- 下一篇文章: Android中自定义进度条详解
- 浅谈Android onTouchEvent 与 onInterceptT
- Android实现简易浏览器遇到问题的解决方法
- Android中Json数据读取与创建的方法
- 从源码编译Android系统的Java类库和JNI动态
- Android实现仿淘宝购物车增加和减少商品数量
- Android实现在一个activity中添加多个listv
- Android基础控件(EditView、SeekBar等)的